

This is for the Belle lovers! I suddenly had an inspiration to make a miniature enchanted rose from The Beauty and the Beast. It was also my first time using clay for a miniature.
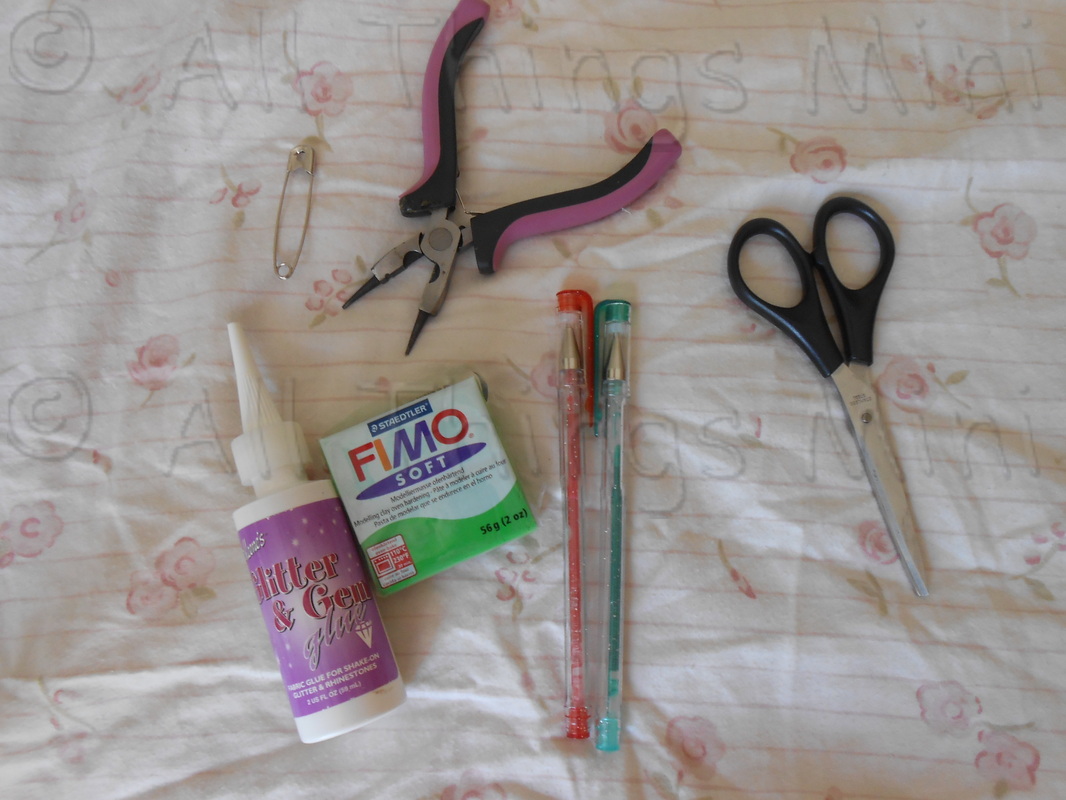
Materials:
Clay - Red and Green (Preferably polymer clay)
Wire (not pictured)
Green paint (not pictured)
Pliers
Scissors
Pin
Green construction paper (not pictured)
Red and green sparkle pens (Optional)(You could also use nail polish)
For dome: (not pictured)
Gold paint
Glue
Small size gum ball container
Clay - Red and Green (Preferably polymer clay)
Wire (not pictured)
Green paint (not pictured)
Pliers
Scissors
Pin
Green construction paper (not pictured)
Red and green sparkle pens (Optional)(You could also use nail polish)
For dome: (not pictured)
Gold paint
Glue
Small size gum ball container
Instructions:
Part 1:
Step 1: Make a rose following the instructions at: http://nacekomie.ru/forum/viewtopic.php?f=100&t=2528&start=119
Don't paint the stem or add the leaves yet!
Step 2: Shape the wire into a rose stem shape. To add glitter to your rose, carefully take out the ink tube of your red sparkle pen. Then use a pin to pull out ink from the top of the tube and apply to the rose.


I also made a few extra petals to show the petals that had fallen off of the rose already.

Step 3: Paint the stem with green paint.

Add glitter (sparkle pen).

Yes, that is a monopoly shoe.
Step 4: Time to make leaves! Use the green polymer clay to mold leaves. Don't forget to add veins with a pin and shape them.

Step 5: Attach leaves!

At this point I decided my leaves were too bright a green and stuck 'em in the oven again at higher temperature, watching carefully so it wouldn't completely burn. This is optional.

Step 6: Repaint and reglitter any spots that might have rubbed off. Let dry.
Now you can make it's own little dome like the original...
Part 2: The Dome
Part 2: The Dome

You can make the dome using caps from a plastic bottle...
or a small plastic gum ball machine container (which is what I used). Make sure you get the small size. Mine came with a ring.

You can use gold bead caps or other jewelry findings to decorate. I went a bead cap to fit on the top. Gather your rose and the petals.

For a base you can paint the cap gold, flip over the cap to make a perfect fitting base. I used a pin to make a hole in the center of the cap through which to stick the rose stem. Then glue the rose and the petals to the cap and voila! :)

This is what I mean when I said poke a hole in the cap and use it to stick the rose's stem through. It helps stabilize the rose and keeps it steady while drying.

Here's a gallery of pictures of my cutesy little rose! :)


Enjoy!
-Erin A
 RSS Feed
