

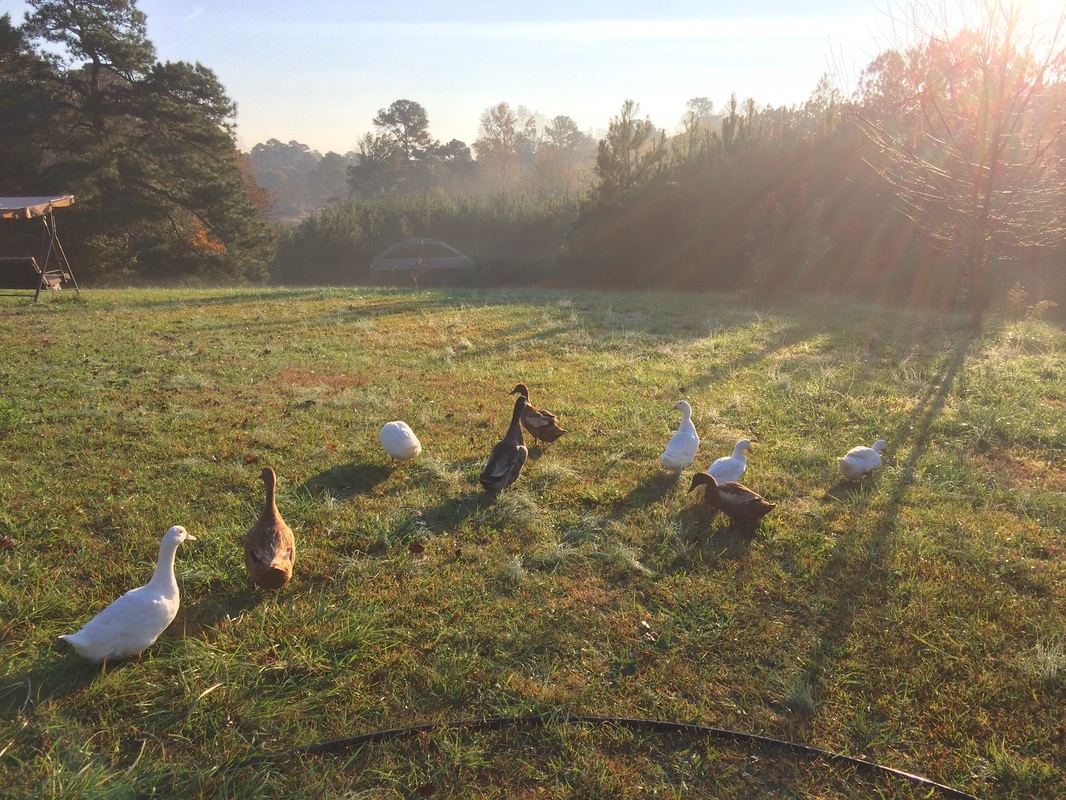
Apologies for the huge delay. If you don't know, I have 9 awesome ducks. They are the cutest little things and I think they're awesome. So this project if because ducks are epic. Read till the bottom and you'll get a surprise!
Materials:
Yellow Polymer Clay
Paint
Orange Polymer Clay (optional)
Glue (optional)
Eye Pin (optional, if you want to make a keychain or something)
Oven
Paint
Orange Polymer Clay (optional)
Glue (optional)
Eye Pin (optional, if you want to make a keychain or something)
Oven
Instructions:
Step 1: Condition a ball of yellow polymer clay

Step 2: Separate into two balls, one big, for the body, and one small, for the head. Also keep aside a small portion for the wings.

Step 3: Shape the larger ball into the shape of a duck body. This took me a while to get right. Try to make it compact and add a little tail.

Step 4: Make the head by using the smaller piece of clay

Step 5: Fashion two wings. Try to make them as identical as possible.

Step 6: Add to the body. Try to add them in around the same place on both sides.

Step 7: Create a beak by flattening out an oval shaped piece of clay and folding it in half. If you have orange clay, by all means use that. I used yellow and painted it orange later on.

Step 8: I took the head off to add the beak. Reattach. If you want to add an eye pin, this is the time. You may want to use glue. White school glue worked fine for me.

Step 9: Bake! I baked mine at 230F (110C) for one hour, per the instructions on the packet. You can put it for longer if you want to make sure it is thoroughly cured. According to information I found on the internet, you don't have to worry about it burning unless your temperature is too high. Beware that your oven thermometer my be wrong.

Step 10: Paint! I painted the bill orange and added two dots for eyes.

Step 11: Seal. This step is optional; however, it will give your duck a cool shine. I used Studio by Sculpey in Glossy. It was laying around and I've used it as a sealer for various things, I only realized it was a clay sealer doing this project. ? I added multiple coats to get a nice shine; make sure you are following the instructions on the bottle if you choose to do so.


Sorry for many bad quality pictures, I think the camera had a hard time focusing on the bright yellow clay, and I had a bad lighting situation.
Hope you enjoyed!
Erin A
Surprise! There's more. Here's some pictures of my ducks.


 RSS Feed
