

This hinge is great for a mini door or a little box! Made from a soda can and some wire, it shouldn't take more that 10 minutes to make this cute little working mini hinge!
Materials
Soda can
Scissors
Wire
Pliers (preferably needle nose)
Scissors
Wire
Pliers (preferably needle nose)

Instructions
Step 1: Cut out a small rectangle from the soda can.

Step 2: Cut the piece in half. These two pieces will be the two sides of the hinge.

Step 3: Make 3 cuts in one piece. Try to make them as evenly spaced as possible. Lay the second piece on top and make another 3 cuts in the same place. The two pieces should be identical.


Step 4: On the first piece, cut out the end two pieces, to form a T shape.

Step 5: On the second piece, cut out the middle piece to make a U shape.

Make sure the pieces will fit together.

Step 6: Take your pliers and begin to curl the end of the pieces.
This is where the hinge pin will go, so it may be easier to take your piece of wire and curl the metal around that.


Not a great picture, but the camera just refused to focus.

The end result should look like so:

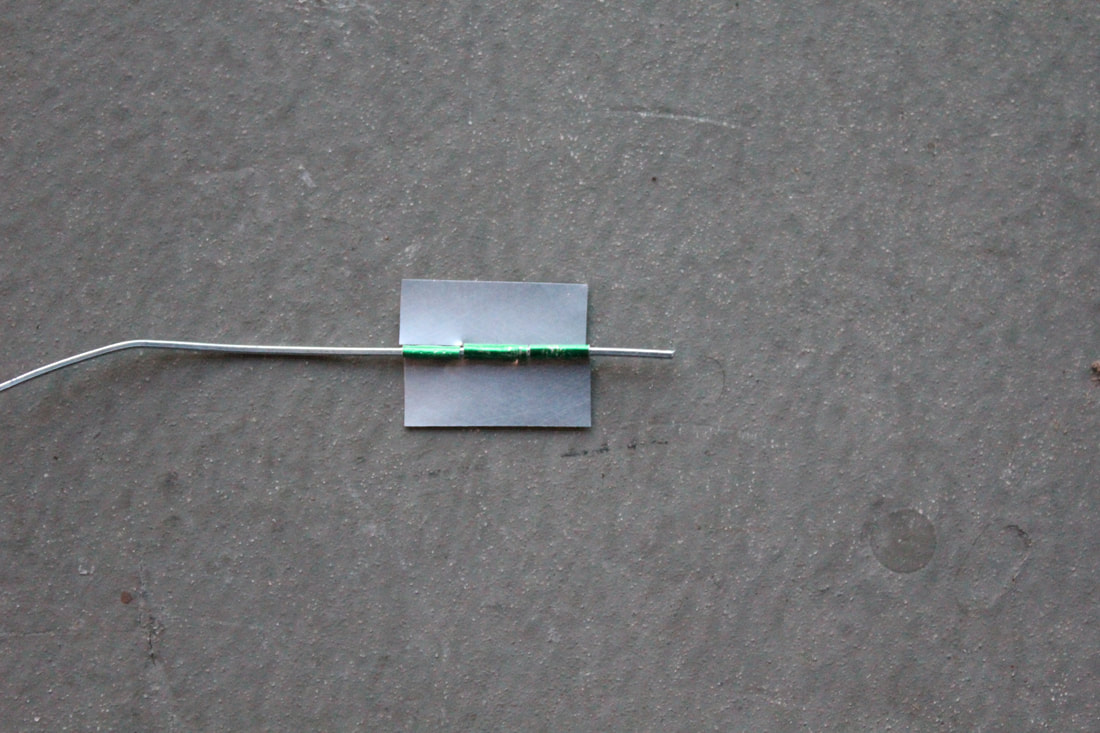
Once both pieces have been curled, place them on to the wire as shown below and make sure it turns smoothly.
Step 7: If you want to paint your pieces, now is the time to do so. Separate the pieces before you paint just to ensure that they won't stick together. I spray painted mine gold.

Step 9: Now is time to secure the hinge pin. One idea is to use a head pin so that you only have to worry about securing one end. To secure the end, simply curl up the end of the wire to keep the hinge from sliding off. To make this easier, you could flatten the tip first by squishing it with your plier.


Your done! Attach your hinge to your project. I used mine for a little mini box (tutorial hopefully coming soon), this could also be used on a mini door or even a mini oven!
This hinge is probably not as sturdy as a store bought hinge, but it works well, is a quick project, and is made from materials you likely have lying around.
-Erin A
 RSS Feed
