

I've always loved boxes, so I took it a step further and made mini boxes! It's a great way to reuse old credit cards to make a nice mini storage box for things like beads and buttons.
Materials:
Old credit cards/gift cards (I used 3)
Scissors
Construction Paper
Glue
Old credit cards/gift cards (I used 3)
Scissors
Construction Paper
Glue
Instructions:
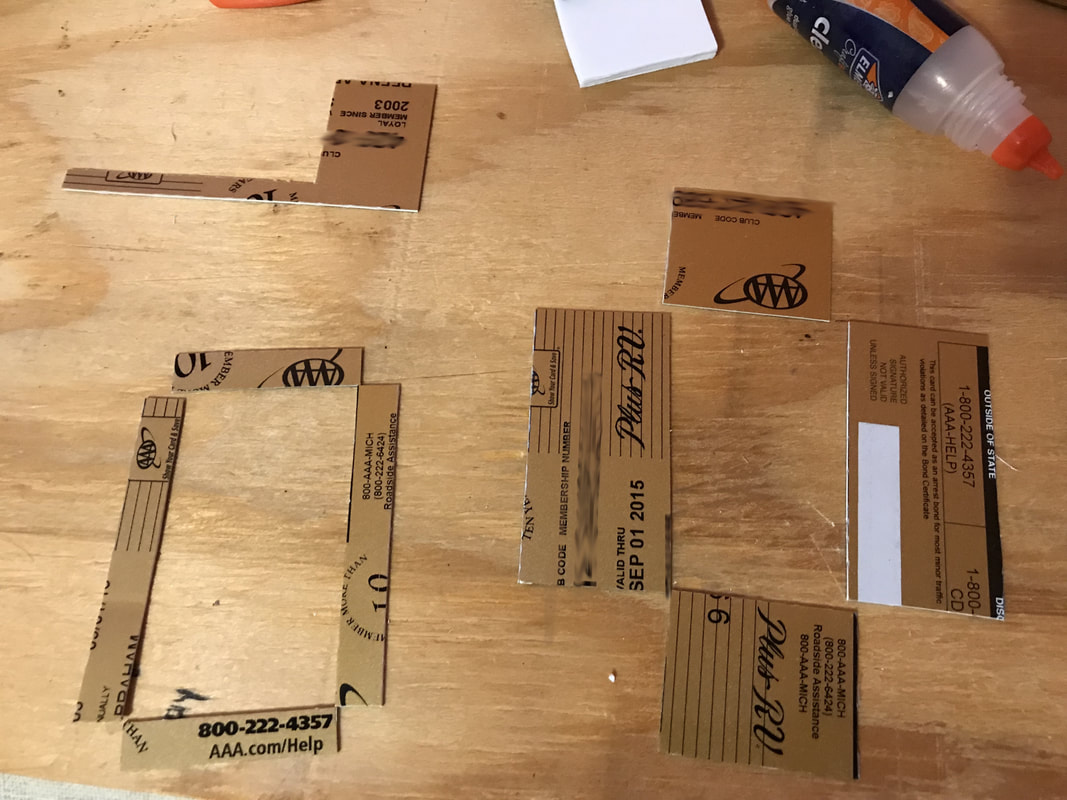
Step 1: Cut out 2 identical pieces of credit card. This will be the length of your credit card. Then cut out 2 other pieces that are identical to each other, and have the same height as the first set. This will be the width of your box. Arrange as shown below.

Step 2: Cut out another set just as before, but thinner, and slight longer/wider. This will be the cap for your box. Below is a picture of the two side by side.
Step 3: Tape the edges of the credit cards together on the outside, so they form a box shape, and add glue on the inside. Do the same to top and let dry.
 I used a toothpick to apply glue on the inside.
Step 4: Trace out the perimeter of the box onto another card. This will be the bottom of the box. Place and the box on top and glue in place. You can use tape on the outside for added security. Do the same for the cap.

The cap should sit snugly around the box.
Step 5: Time to decorate! Cut out a piece of paper as shown below. Then, fold flaps up the sides and glue to the box.


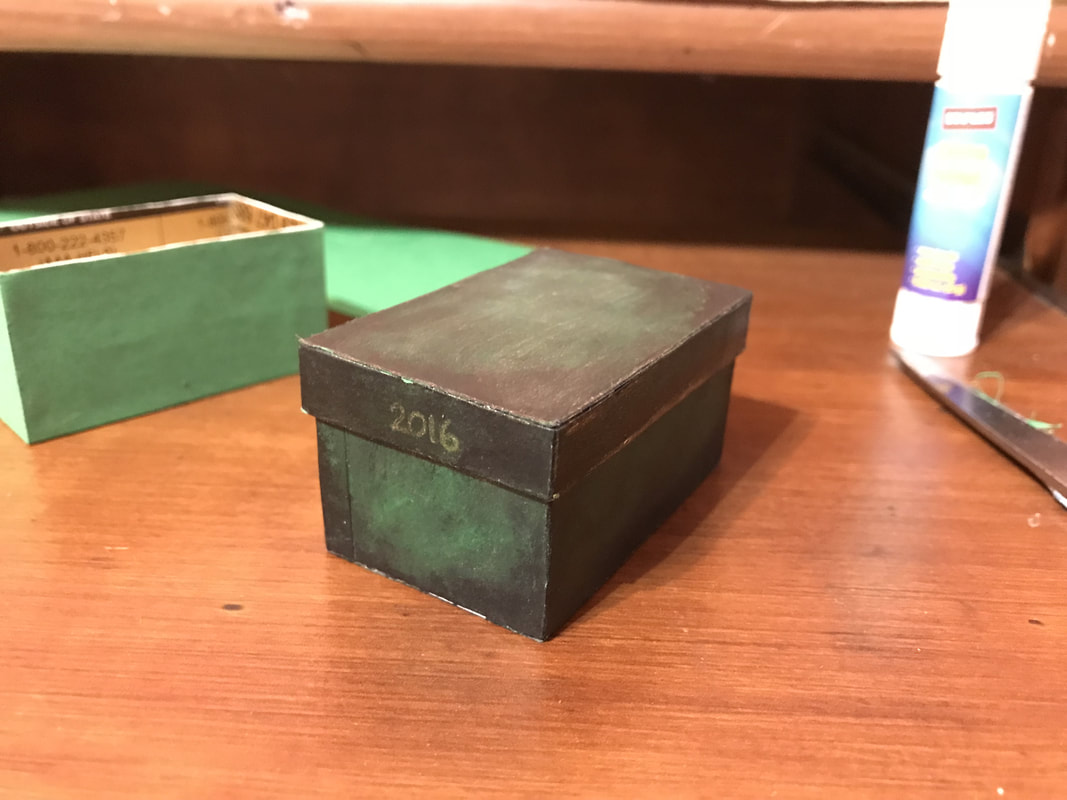
Step 6: Next, cut out a strip of paper with the same height as the box, and long enough to go around the perimeter of the box. Glue onto box and let dry. Repeat for cap of box.

Step 7: Add your finishing touches, and you are done! I gave my box a distressed look by adding some black acrylic paint in the corners.
I hope this tutorial was easy to follow. Give it a try! Let me know how it went in the comments below.
Happy Crafting!
-Erin A
 RSS Feed
